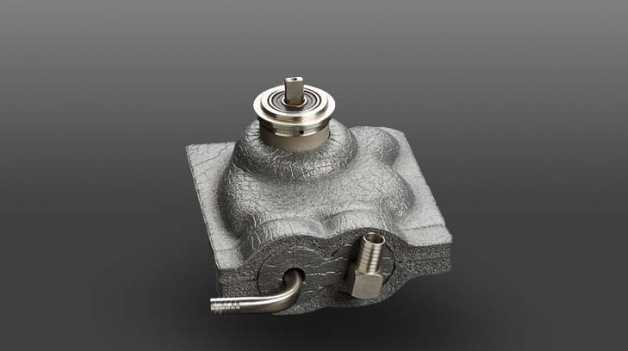
Yes, vacuum forming can be used with foam materials, such as expanded polystyrene (EPS) or polyethylene foam, to create custom shapes and packaging.

Table of Contents
ToggleThe Basics of Foam as a Material
Foam materials are ubiquitous in a variety of applications due to their unique properties. They are lightweight, provide excellent insulation, and can absorb impact, making them ideal for protective packaging, cushioning, and insulation tasks.
Types of Foam Suitable for Vacuum Forming
- Polyethylene Foam: Known for its durability and stiffness, perfect for industrial parts.
- Polystyrene Foam: Offers precise molding capabilities, commonly used for packaging electronics.
- Polyurethane Foam: Flexible and comes in varying degrees of hardness, used in automotive and furniture.
Properties of Foam
- Density: Affects cushioning ability and strength.
- Tensile Strength: Important for durability under tension.
- Compression Set: Low compression set foams retain shape after being squashed.
Selecting the Right Foam for Your Project
- Analyze Load Requirements: High-density foams withstand heavier loads.
- Consider Environmental Exposure: Some foams resist moisture and chemicals better than others.
- Balance Cost and Performance: Polyethylene is cost-effective for bulk projects, while polyurethane may be more suitable for premium applications.
In crafting foam materials, manufacturers often face trade-offs between cost and performance. For instance, while high-density foams offer better support and durability, they typically come with a higher price tag. On the other hand, low-density foams might be more cost-efficient but can compromise on strength and longevity. The selection process must take into account the specific requirements of the application, such as the need for cushioning, insulation, or structural support.
Vacuum Forming Process Explained
Vacuum forming is an intriguing process that reshapes a flat plastic sheet into a three-dimensional object by applying heat and a vacuum. Here’s a breakdown of the key components in the process.
The Physics Behind Vacuum Forming
- Atmospheric Pressure: Utilizes the weight of the earth’s atmosphere, roughly 101.325 kPa, to press the plastic onto the mold.
- Mechanical Properties: Plastic must possess the right thermal and mechanical properties to stretch without tearing.
The Role of Temperature in Vacuum Forming Foam
- Material Specific Temperatures: Each type of foam softens at a particular temperature, such as HIPS at 162-175°C.
- Uniform Heat Distribution: Ensures the material softens evenly to avoid weak spots.
- Controlled Cooling: Allows the formed foam to harden without warping.
Timing and Pressure Considerations
- Optimized Cycle Times: Balances speed with quality, ranging from 30 seconds to 4 minutes.
- Pressure Levels: Machines typically run at 0.2 to 0.4 bar below atmospheric pressure for ideal forming.
- Quick Vacuum Application: Achieves sharp detail in the final product.
Preparing Foam for Vacuum Forming
Preparing foam for vacuum forming is a critical step that influences the quality of the finished product. Proper preparation ensures the foam will form correctly and have a smooth, uniform appearance.
Cutting and Shaping Foam
- Use Sharp Blades: Maintain a clean cut and reduce rough edges.
- Computer Numerical Control (CNC) Cutting: Achieve precise dimensions; for instance, a CNC machine can cut foam with a tolerance of ±0.5 mm.
- Die Cutting: Ideal for high-volume production runs, where speed is crucial, and can cut at a rate of 5 seconds per piece.
Cleaning and Surface Preparation
- Dust and Particle Removal: Use compressed air guns to blow away debris, ensuring a clean surface for forming.
- Solvent Wiping: Apply isopropyl alcohol for degreasing and removing any residues.
- Surface Priming: Some foams may require a primer to enhance adhesion or smoothness.
Foam Conditioning Prior to Forming
- Temperature Acclimatization: Store foam at room temperature, typically between 20-25°C, for 24 hours before forming to stabilize its internal structure.
- Humidity Control: Maintain a relative humidity around 45-55% to prevent foam from becoming too dry or moist.
- Pre-Heating: Soften foam slightly in a controlled environment, such as a low-temperature oven set to 60°C, to reduce internal stresses.
Tools and Equipment for Vacuum Forming Foam
Equipping a workshop with the right tools is essential for efficient and high-quality vacuum forming of foam. The setup generally involves a range of equipment, from basic hand tools to advanced machinery.
Building a Vacuum Forming Machine
- Frame and Clamping: Create a sturdy frame that can accommodate sheets of foam; for instance, a 24×24 inch frame is a standard size for small to medium projects.
- Heating Elements: Install infrared panels or ceramic heaters with a power output that suits the foam size; typically, 1.2 kW per square foot of heating area is adequate.
- Vacuum System: Integrate a vacuum pump capable of at least 28 inches of mercury (inHg) to ensure proper definition and detail in formed parts.
Commercially Available Vacuum Forming Machines
- Desktop Models: Suitable for small-scale projects or educational purposes, with a cost ranging from $1,500 to $3,000.
- Industrial Machines: Can handle larger production volumes and more substantial foam sheets, with prices that can exceed $20,000.
- Energy Consumption: Consider the machine’s power rating, as an average industrial vacuum former can consume around 10-20 kW during operation.
Customization of Tools for Specific Foam Types
- Adaptable Temperature Controls: Implement PID controllers for precise temperature adjustments, which can cost around $300 for a quality unit.
- Interchangeable Molds: Design molds that can be easily switched out to accommodate different foam types and shapes.
- Pressure Gauges: Install to monitor vacuum pressure in real-time, with high-quality gauges costing approximately $50-$100.

Step-by-Step Guide to Vacuum Forming Foam
Vacuum forming foam involves a series of steps, each critical to ensuring the final product meets the desired specifications. From initial design to the end of the forming cycle, careful planning and execution are key.
Initial Design and Prototyping
- CAD Modeling: Utilize software like SolidWorks or AutoCAD to create a precise model; consider dimensions and tolerances, ensuring they align with the foam’s properties.
- 3D Printing: Print a prototype to assess fit and function; this can take anywhere from a few hours to several days, depending on the complexity, with costs varying from $10 for small prototypes to $1,000 for large, intricate models.
- Material Selection: Choose the right type of foam, balancing qualities like density, which typically ranges from 1.7 to 2.2 lb/ft³ for vacuum forming, and tensile strength, with polyethylene foam often having a tensile strength of 100 psi.
Creating Molds for Foam Forming
- CNC Machining: Machine aluminum molds for high-precision and longevity; the cost can range from $500 for a simple mold to over $10,000 for complex or large molds.
- Wooden Molds: Use for short runs or prototypes; they are cost-effective, with prices as low as $100, but less durable.
- Surface Finishing: Ensure molds have a smooth finish to prevent foam from tearing, which can be achieved by sanding or applying a sealant.
The Vacuum Forming Cycle: From Start to Finish
- Heating the Foam: Heat the foam sheet to its optimal temperature, which for many types of foam ranges between 130°C to 160°C.
- Forming: Place the heated foam over the mold and apply the vacuum; a strong vacuum pump, with a flow rate of 3 CFM (cubic feet per minute), is essential for detailed parts.
- Cooling: Allow the foam to cool and set on the mold; this can take from 30 seconds to several minutes, depending on the foam thickness.
- Release and Finish: Release the newly formed part from the mold, and perform any necessary trimming or finishing, which can affect the cycle time and overall throughput of the process.

Case Studies: Successful Projects Using Vacuum Formed Foam
Vacuum formed foam has a myriad of applications across industries. Here’s how vacuum formed foam has contributed to the success of projects in these areas.
Automotive Applications
- Car Door Panels: Manufacturers use vacuum formed polyethylene foam for door panels due to its sound-dampening qualities. A project might require foam with a density of 30 kg/m³, providing a balance between weight and acoustic performance.
- Dashboard Insulation: Using foam with a high heat deflection temperature, typically around 120°C, ensures the dashboard remains stable under varying temperatures.
- Cost Efficiency: Vacuum forming allows for lower tooling costs compared to other methods, with tooling costs for a medium-sized automotive part averaging $5,000-$10,000.
Packaging Solutions
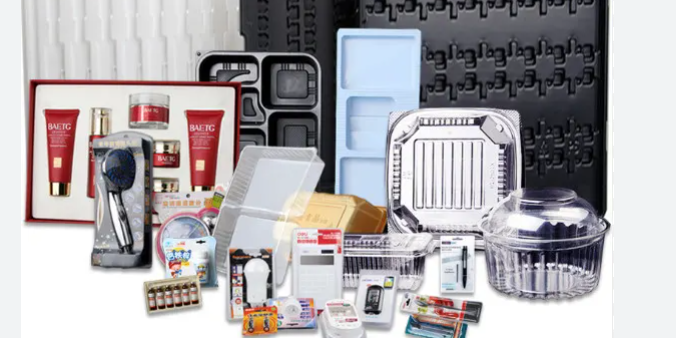
- Electronics Packaging: Custom-formed EVA foam inserts protect delicate electronics during shipping. For a standard laptop-sized package, the foam density might be around 1.5 lb/ft³, providing optimal shock absorption.
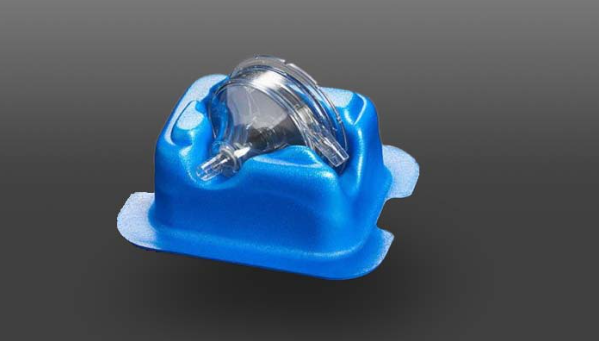
- Medical Equipment Cases: High-impact polystyrene foam is used for its rigidity and protective qualities. The total cost for a small run of custom packaging solutions can be around $3,000-$5,000 including design, tooling, and materials.
- Time-Saving: The speed of vacuum forming allows for rapid prototyping and production, with a cycle time that can be as low as 2 minutes per piece for simple designs.
Innovative Uses in Consumer Products
- Sporting Goods: Vacuum formed foam is used in protective gear like shin guards, which require a foam with a tensile strength of at least 40 psi to ensure durability and safety.
- Furniture: For ergonomic office chairs, memory foam is vacuum formed to fit specific contours. The longevity of such a chair, typically around 7-10 years, justifies the initial investment in custom molds and design work.
- Sustainability: Vacuum forming foam can be environmentally friendly when using recyclable materials, like certain grades of EVA foam, which can reduce waste and appeal to eco-conscious consumers.


